Showing posts with label freezing. Show all posts

Wednesday, September 19, 2012

{Recipe} Homemade Chicken Stock

Mom's Turkey Soup
I grew up eating homemade stock only in the winter and during Thanksgiving/Christmas season.  Every year, my Mom would make a turkey and create the most lovely turkey stock which was turned into turkey soup.  For her, this included the "innards", bones, meat still on the carcass, celery, carrots, salt, pepper, and LOVE.

The smell of the turkey stock cooking would permeate the house while cooking for at least a whole day.

She would then strain the broth, then pick the turkey from the bones (not a funtastic task at all!).  The Broth and meat was then portioned together and frozen for use throughout the winter.  YUM.

I have longed to do the same at my own home, and I have tried to do this for over a year without getting that perfect stocky flavor using chicken.

Mistakes I made:
*using onion (end result was onion soup)
*using carrots (bitter tasting)
*using too many spices (not good tasting)
*not cooking it long enough (not a good chickeny stocky flavor)

This week my house finally smelled similar to my Mom's house the day after Thanksgiving when the turkey stock was cooking all day.  Hooray!

Here's what I did...

First, I cooked a small whole chicken in the crockpot.  I seasoned it with garlic salt, pepper, and paprika.

Then, I picked the chicken.  You know, taking the meat off the bones after it is finished cooking.  I really dislike this part...but it is worth it!  Since I want to make soup from this, I left a good amount of meat on the bones to cook with the stock (mainly the dark meat, which is awesome for soup!).

Next, I put all the trimmings back into the crockpot.  This included everything...bones, meat, skin.  I filled the crockpot with cold, filtered water and let it sit for 30 minutes before starting it up on low.

I didn't add any veggies or any extras this time.  I figured I could season it later if it was a little bland.  And, oh am I so glad I didn't season it!  It smells amazing, and I finally achieved that sort of golden color with stock!  Yay!

Then, I cooked the heck out of it!

 I let the first batch cook for at least 12 hours on low in the crockpot.  I actually cooked two whole chickens this time and put all the trimmings together in the crockpot.  I got 3 batches of stock out of this which yielded about 3 gallons.

When it has the color taste you are looking for, strain the trimmings from the stock using a mesh strainer.  I put the stock in gallon sized canning jars.  Let it sit on the counter to cool before putting in the fridge.

2nd batch of broth, a little lighter than the first but still pretty!

After it has cooled in the fridge for a while, the fat will harden and rise to the top.  Skim this part off before storing or using.  Although, I might keep the fat separately this time and use it in other cooking...we'll see...

And the trimmings?  Well, my least favorite part is picking the trimmings.  My Mom always had 3 bowls for sorting:  one with the trimmings, one to keep, one to pitch.  This can be super tedious, but so worth it in the end!

Portion, freeze, and soup's on!

Saturday, February 4, 2012

BRRRR!


Since I have been meal planning more and consistently, I decided it may be helpful to do a total and accurate inventory of my freezers.  This is something I have been avoiding for a long time.  I sort of knew what was lurking in the depths of my deep freeze, but I wasn't sure...exactly.

So, today I took everything out of my deep freezer and my fridge freezer and created an inventory.  I found some great stuff that I had forgotten was in there, and I could probably eat for months without going to the store.  Yippee! 

Even more exciting is the fact that I was able to organize the freezers a little better.  All of the meat is in the deep freeze while all of the cheese is now in the fridge freezer.  It's the little things, folks.

Here is a glimpse into my spread sheet awesomeness that is my new freezer inventory...


In the future, I hope to take an inventory of the rest of my pantry, also, so I can just do my meal planning from real time inventory lists.  This is, of course, a pie in the sky wishful dream. :)

Do you know what is lurking in your freezer?  Do you have a good way to keep inventory?

Tuesday, July 12, 2011

Broccoli Bliss!

Have you ever wondered how to take fresh from the farm broccoli and put it up for the winter?  Have you ever tasted fresh summer broccoli in the cold of late January?  Well, I'm ready to do just that!  Here's how you can put up broccoli for the winter!

STEP 1:
Make friends with your farmer!  I'm super lucky to be friends with a co-worker who helps kids grow during the school year and grows produce in the summer!  So, get your veggies from your farmer.


Box 'O Veggies from J & L Farms
STEP 2:
Cut up your broccoli.  Do you like a lot of stalk on your broccoli?  I sure don't.  So, since I'm cutting it up myself, I discard much of the stalkiness.  I love using my chef's knife for this.

Broccoli crown to yummy bite size pieces.

Pile 'O Broccoli

STEP 3:
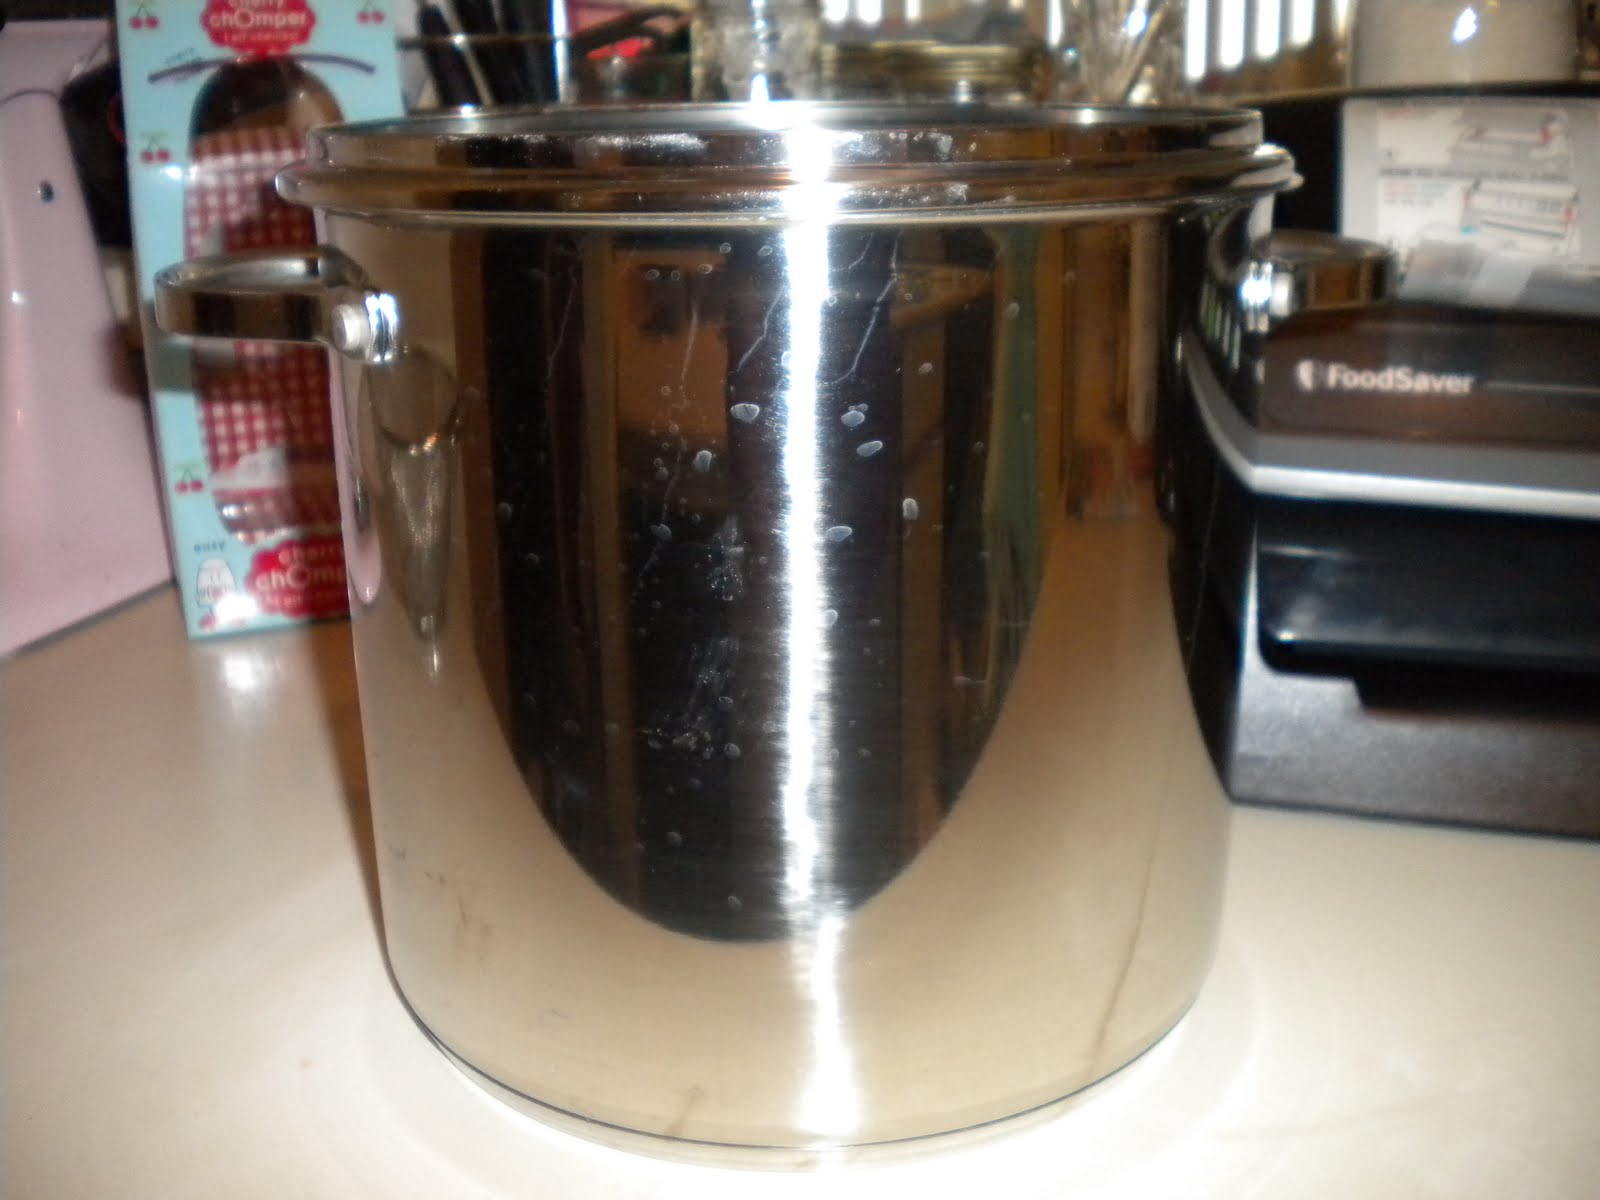
Get ready to blanch!  I had never blanched anything until last summer.  It's really a breeze.  Get a pot to boil water in, a large bowl with ice water (lots of ice!), a strainer, and a bed of paper towels for extra draining.  Don't forget a big slotted spoon!

Boil broccoli for about 3 minutes, then immediately cool in ice water for another 3 minutes.  Drain and dry.  That's it!  Then you are ready to package and freeze.


STEP 4:
Package and freeze.  I recently bought a foodsaver, and this was my first time using it.  It was a little temperamental, but I got the hang of it quickly.  If you are using a foodsaver, be sure to prefreeze your broccoli for at least 2 hours before sealing to get out more moisture.


Enjoy your veggies in the winter!  I need more freezer space!