Monday, January 2, 2012

Day 1 - Eating at Home Challenge


New Year's Day 2012 is the day I chose to begin my 100 days of eating at home challenge!  I spent the night on New Year's Eve at my parent's house, and I consider eating at home to include my parent's house.  Plus, free food for me!
Did I eat real food at my parent's house?  Uh, no.  But, I woke up having some bread and butter and cinnamon rolls.  I came home and took a nap and accidentally skipped lunch completely.  That's pretty frugal!  I looked in my fridge for dinner, and I found half a jar of tomato sauce and decided I better use it up before it went bad.  I cooked up some bow tie pasta along with the tomato sauce and cheese for a very frugal, left-over using dinner.

This was not what I meal planned for today, but I still ate at home!  At this point, I see this as success.

What did you eat at home today?  Did you stick to your meal plan?

Sunday, January 1, 2012

100 Days of Eating at Home Challenge


As a single woman living alone, I find that it is really easy to fall into the habit of eating out - frequently.  I have fallen into this bad habit, and it's time to change this.  I think part of it was a time management issue with being a full time graduate student for the past three years, but since graduation I've had more time to be domestic.
Maybe it's because I need to consider my budget more closely.  Maybe it's because my fridge-freezer AND my deep freezer are stuffed so full I cannot get anything else in there (I'll have to take a picture...).  But I need to eat what is in the house and not run out to get something at my first inkling of a hungry rumbly tummy.

Here are the RULES:

1.  Every meal should be based on making it in my house.  I know I won't always be "eating" at home (hello, work), but the food should come from my own kitchen and not Fazoli's.

2.  I will be allowed to purchase beverages when out.  Let's face it, I like to drive through McDonald's to get an unsweetened ice tea.  Beverages outside the home are legal in order for me to keep my sanity.

3.  If someone invites me to a meal out, that is legal if I can afford it.  If I am not paying for the food, then I think that's okay. 

4.  I am going to start out with a $150 per month food budget.  This is harsh!  However, I need to use the meat, veggies, and stuff in my freezer.  If I eat down some of the stash at my home, I should be okay.

5.  I will need to meal plan and try to stick to it.  The sticking-to-it is the hard part.  I can meal plan until the cows come home, but actually eating what it says to eat is and inner struggle.

6.  Buying seeds and trying my hand at my container garden again this year will not be part of the food budget.

7.  For the most part, I will attempt to continue adding in "real food" for my ongoing transition to real food.  This is going to be difficult on the budget, but hopefully I will still be able to afford milk and eggs from the farm.

How often do you eat at home?  Is it a challenge to resist eating out?

Potato Soup


Around Thanksgiving, I bought a giant bag of potatoes on sale for $1.99.  I just realized they are still sitting on my pantry floor, and haven't (amazingly) sprouted yet.  I need to make some delicious winter potato soup!

STEP 1:
Wash, peel, and cut potatoes.  The smaller you cut them, the faster they will cook.

STEP 2:
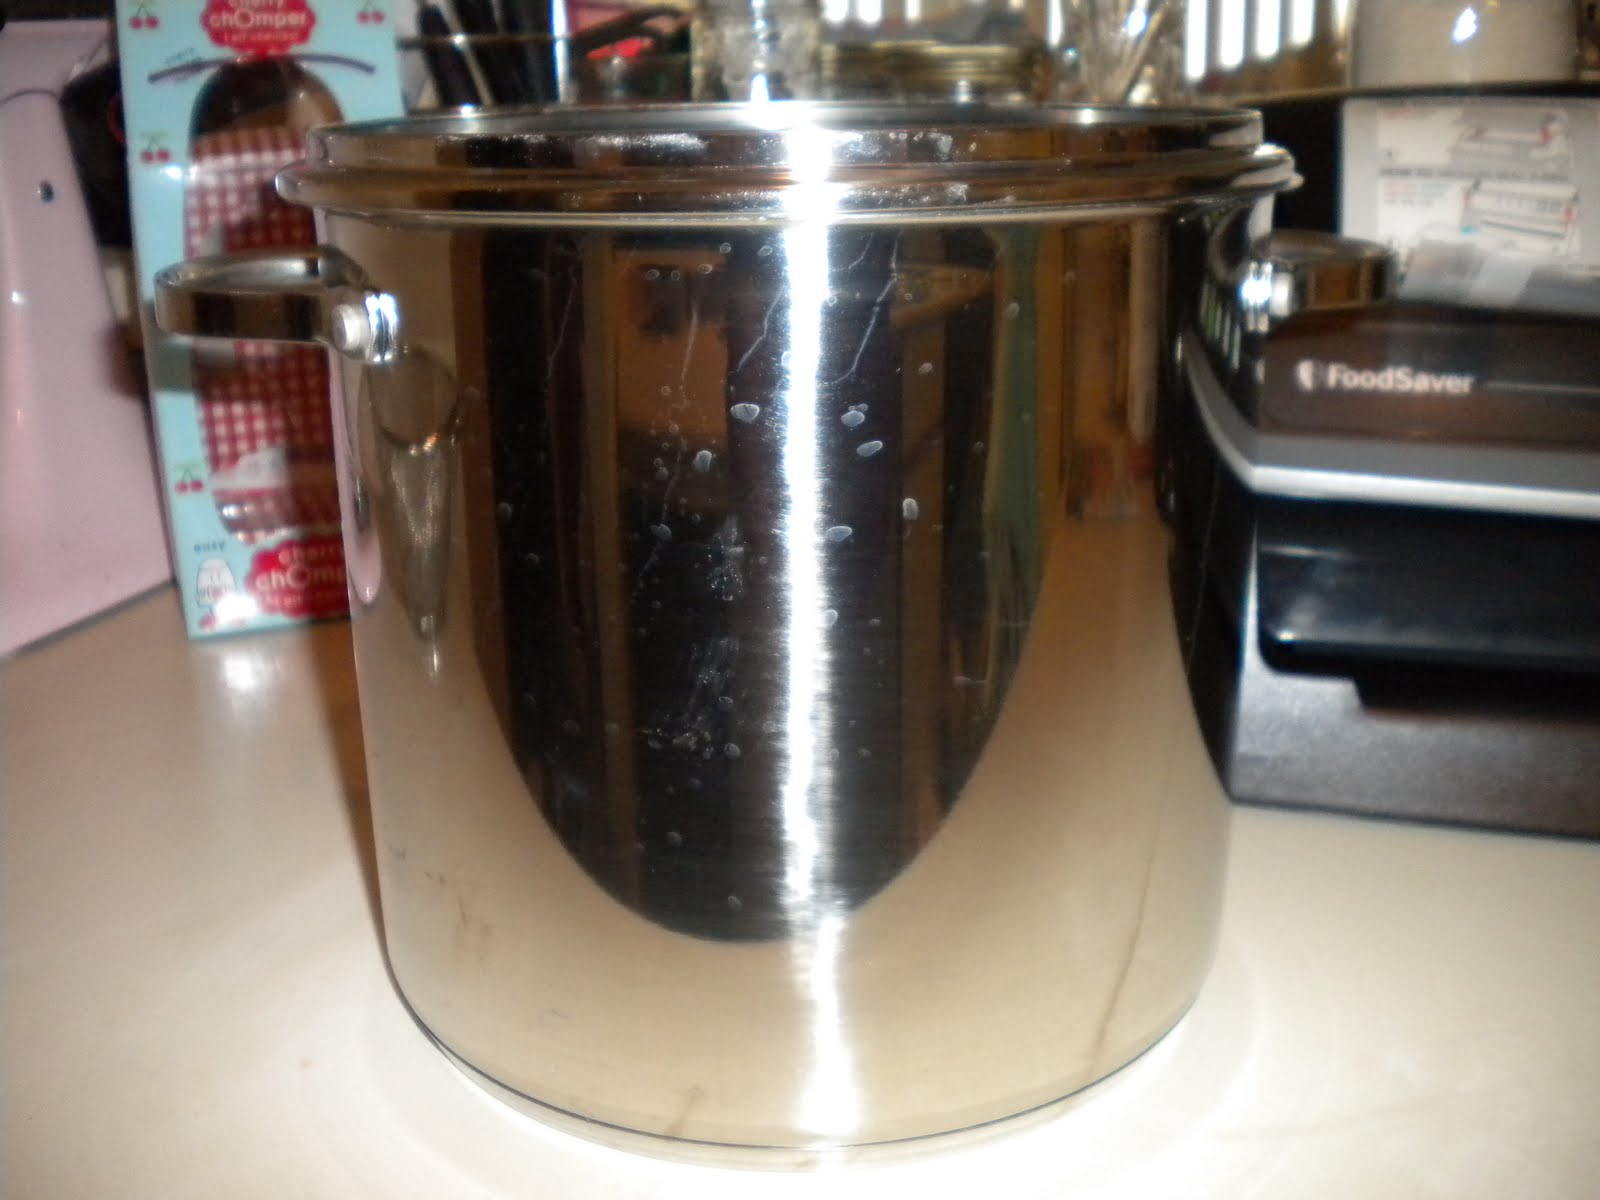
Bring a large pot of water to a boil, add potatoes, and boil until tender.

STEP 3:
Drain potatoes, and return potatoes to pot.

STEP 4:
Mash potatoes.  I usually hand mash, but I did purchase a new stick blender that I may try.

STEP 5:
Add butter, milk, salt, pepper, and parsley to taste.  This is just like making mashed potatoes, but add milk until desired consistency is achieved.  I just went to the farm and purchased some REAL MILK, so that will make this soup extra nourishing!

STEP 6:
Heat soup to desired temperature for serving.  Enjoy!


I also usually serve this with smoked sausage with a little melted cheese on top.  I do this because it's what my Mom did when I was growing up.  Use grass-fed cheese to up the nutrient value for this meal.

Tuesday, July 12, 2011

Broccoli Bliss!

Have you ever wondered how to take fresh from the farm broccoli and put it up for the winter?  Have you ever tasted fresh summer broccoli in the cold of late January?  Well, I'm ready to do just that!  Here's how you can put up broccoli for the winter!

STEP 1:
Make friends with your farmer!  I'm super lucky to be friends with a co-worker who helps kids grow during the school year and grows produce in the summer!  So, get your veggies from your farmer.


Box 'O Veggies from J & L Farms
STEP 2:
Cut up your broccoli.  Do you like a lot of stalk on your broccoli?  I sure don't.  So, since I'm cutting it up myself, I discard much of the stalkiness.  I love using my chef's knife for this.

Broccoli crown to yummy bite size pieces.

Pile 'O Broccoli

STEP 3:
Get ready to blanch!  I had never blanched anything until last summer.  It's really a breeze.  Get a pot to boil water in, a large bowl with ice water (lots of ice!), a strainer, and a bed of paper towels for extra draining.  Don't forget a big slotted spoon!

Boil broccoli for about 3 minutes, then immediately cool in ice water for another 3 minutes.  Drain and dry.  That's it!  Then you are ready to package and freeze.


STEP 4:
Package and freeze.  I recently bought a foodsaver, and this was my first time using it.  It was a little temperamental, but I got the hang of it quickly.  If you are using a foodsaver, be sure to prefreeze your broccoli for at least 2 hours before sealing to get out more moisture.


Enjoy your veggies in the winter!  I need more freezer space!

Monday, May 16, 2011

Recipe: Stone-Ground Roasted Pork Tenderloin


The photo just doesn't do this justice!  I tried a new recipe tonight, and it was pretty good!  I found the original recipe (before tweaking) here for Rosemary Roasted Pork Tenderloin.  I was looking for a stellar pork tenderloin recipe since they were recently on sale at the g-store.  And yes, they are not organic.  And yes, they are not grass-fed.  Sometimes, when gasoline is four dollars a gallon, I have to take advantage of a meat sale.  Just sayin'...

Well, I didn't have some of the exact ingredients the original recipe called for, so I happily tweaked and prayed it would turn out okay.  Here's what I did.

Ingredients:
1 cup (Simply Apple) Apple Juice
1/4 cup Stone Ground Mustard
2 1/2 tablespoons dried rosemary
8 cloves garlic, minced
1 teaspoon black pepper (freshly ground)
1 pound pork tenderloin

Directions:
1.  Combine the apple juice, mustard, rosemary, garlic and pepper.  Mix thoroughly.  Withhold 1/3 cup of mixture and put in refrigerator.  Add the rest of the mixture to a plastic bag with the remaining mixture.  Marinade for 2 hours.

2.  Preheat oven to 350 degrees.

3.  In a baking dish (I used a glass dish), place pork (less the marinade in the bag, discard) in the dish.  Pour the remaining 1/3 cup mixture from the refrigerator over the pork.  Bake for 45 minutes, or until a meat thermometer reads 160 degrees and the juices run clear.  (I had to cook mine for 1 hour 10 minutes because my oven is goofy!).


Next time, I would probably make more marinade sauce.  I would also marinade it overnight instead of just after work until cooking time.  I served this up with some sweet corn from my freezer that I froze last summer.  I added just a little butter to the corn and YUM!

*This post was part of Pennywise Platter Thursday at The Nourishing Gourmet.

Sunday, March 27, 2011

Recipe: Beef Barley Soup

Beef Barley Soup - Yum!
Since winter made a comeback this weekend (brrrr!), I decided to post this recipe for a hearty, warm winter soup.  My Mom makes this soup at home a lot, but I think she originally got the recipe from Lenten Soup Suppers at church.  It's very easy to adjust for flavor and veggies, and I typically just throw whatever I find in the freezer into the soup pot.  Super easy, yummy, frugal, and satisfying.


Beef Barley Soup
 
1 lb. ground beef (I use grass fed beef from Greenwood Farms!)
1 T olive oil (or your choice cooking fat)
2 c. chunky med. salsa (or whatever level of hotness you want.  Last time, I used 1/2 medium & 1/2 hot, and it was pretty hot!)
2/3 c. quick barley (I usually add extra barley to make it heartier.)
2/3 c. cauliflower and/ or frozen peas (in the picture above, I used peas, green beans, sliced zucchini, and frozen corn)
2 T minced dried onion
5 c. beef broth (add some water if you used extra barley)
1 C julienne strips of carrots (I used whole baby carrots...lazy...)
1 T basil (adjust based on how many veggies or barley you add)
1 (15 to 16 oz.) can red beans, rinsed
 
Brown beef and onion in olive oil, drain grease, if necessary.  Add broth, salsa, carrots, barley, beef, and basil to a large stock pot.  Bring to a boil.  Reduce to simmer, cook uncovered 10 minutes.  Add cauliflower and/ or peas.  Cook 5 minutes.  Then add beans and cook to heat throughout.
 
Very easy!  Basically, you just dump and cook.  I typically double the recipe, let cool to room temperature, portion and freeze for later consumption.  You could definitely double this recipe but only use 1 pound of beef for an extra frugal way to stock your freezer (I LOVE my deep freezer!).

Saturday, March 26, 2011

Meal Planning Saturday

I've been away for a while, but I'm back for now!  Grad school can get crazy along with my regular full time job and blogging goes down the drain.  But here's my meal plan for the upcoming week!
Meal Plan for 3/26/2011

I'm hoping the chicken casserole will turn out okay...it's supposed to be with broccoli, but asparagus was on sale this week so I am going to attempt using it instead (crossing fingers).  I will be trying a new recipe tomorrow:  Persian Lentil Soup.  I'm not sure I've ever cooked with lentils before, but I definitely have some on the pantry shelf!  And, it's a frugal choice!  And, I'm going to try and soak them efficiently.  I'm off to Whole Foods to pick up a few groceries (in the SNOW!), then back home for a domestically packed Saturday!

What are you eating this week?